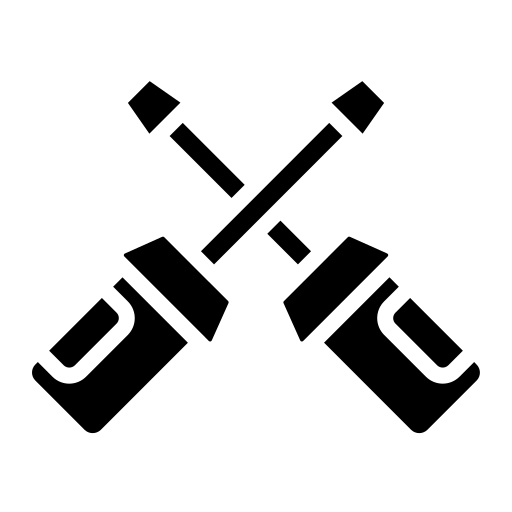
DIY Maintenance and Repair Guide

Understanding DIY Maintenance and Repair

The Basics of Home Repair

Knowing the fundamentals of home repair is essential for effective DIY maintenance. It’s crucial to start by identifying common household issues, such as leaky faucets, broken tiles, or faulty electrical outlets. Each problem requires a tailored approach to fix it properly and safely.

For plumbing, for example, you should ensure the water supply is off before making any repairs. If dealing with electrical issues, verify that the power is disconnected to avoid accidents. Basic knowledge of materials, such as wood, metal, and plastic, helps in choosing the right tools and methods for repair.


pexels-photo-5640688-5640688.jpg

Tools You’ll Need

A well-equipped toolkit is a cornerstone of successful DIY repairs. Essential tools include:

screwdriver

Screwdrivers

Flathead and Phillips types for versatile applications.
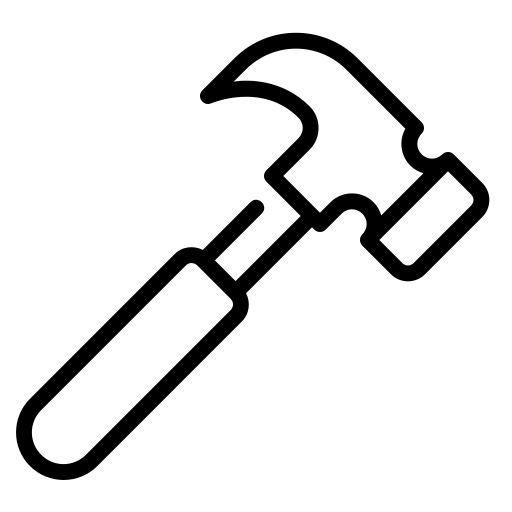
hammer

Hammer

Useful for framing, hanging pictures, and minor demolition.

gear

Pliers

Needle-nose and slip-joint for gripping, bending, and cutting wires.

diagnostic

Wrench set

Adjustable and fixed wrenches for plumbing repairs.
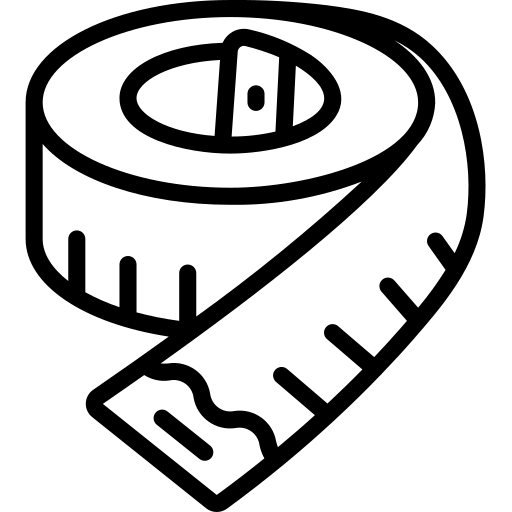
tape measure

Tape measure

Key for precise measurements, ensuring accurate cuts and fittings.
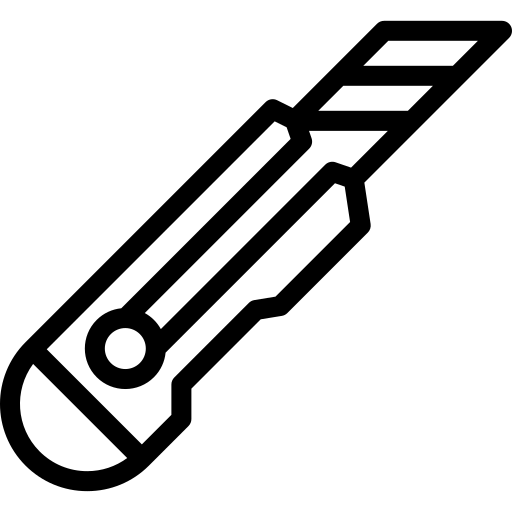
cutter

Utility knife

Ideal for cutting materials like cardboard, vinyl, and drywall.
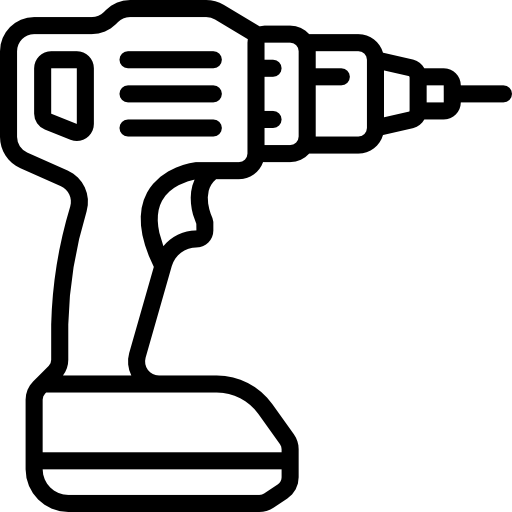
drill

Power drill

Essential for drilling holes and driving screws quickly.

gb15893bb7776a4e3876e4a8ed63984b83b2edde95ba92135fce9ba5db19b2cf58b1171ca343caa04135e4cff228186e93b50de623d0fc4b3e738592fd062c971_1280-3297987.jpg

Common DIY Repair Projects

Fixing Leaky Faucets

Fixing leaky faucets saves water and reduces your water bill. First, shut off the water supply to the faucet. This is usually located under the sink. Next, use a wrench to remove the faucet handle. In most cases, the problem is a worn-out washer or O-ring. Examine the washer and replace it with a matching size. Ensure it’s properly seated before reassembling the faucet. Turn the water supply back on and check for any further leaks. If the faucet still leaks, there might be an issue with the valve seat; cleaning or replacing it should resolve the problem.

Unclogging Drains

Unclogging drains improves water flow and prevents potential backups. Begin by removing any visible debris from the drain opening. Use a plunger to create suction, which can dislodge minor clogs. If the plunger doesn’t work, consider using a drain snake. Insert the snake into the drain and twist it to catch and remove the blockage. For kitchen sinks, grease build-up is common; pour boiling water mixed with baking soda and vinegar down the drain to break up the grease. Chemical drain cleaners can be a last resort, but they’re often harsh and may damage pipes with repeated use.

Preventative Maintenance Tips

Regular Checks and Balances

Performing regular checks and balances ensures your home remains in optimal condition. Inspect plumbing for leaks around sinks, showers, and toilets. Early detection of drips prevents water damage. Examine electrical outlets and switches for signs of wear or overheating. Faulty wiring poses fire hazards. Test smoke and carbon monoxide detectors monthly to ensure they’re working. Replace batteries as required. Routinely check the HVAC system for efficient operation and replace filters every 1-3 months. Clean filters improve air quality and system performance.

Seasonal Maintenance Tasks

Seasonal maintenance tasks address issues specific to each season. In spring, clean gutters to prevent water buildup which can cause damage. Inspect the roof for loose or missing shingles before summer storms. During summer, check for signs of pest infestation and seal entry points. In autumn, rake leaves to prevent soil aeration and lawn health. Winter tasks include insulating pipes to prevent freezing and ensuring heaters work efficiently. This seasonal approach keeps your home prepared for varying weather conditions.

pexels-photo-3818903-3818903.jpg
gf3edff681d517cc3899a5fea339dc4ed4c7373ab666c4924643ebf1ec8ec30a5b3067b6500c6e680b673685ab5d78accf51463256a4ba667eb6922c6d9cdb27f_1280-8341712.jpg

Advanced DIY Projects

Installing Kitchen Cabinets

Installing kitchen cabinets involves several crucial steps. First, measure the space accurately to ensure a perfect fit for the new cabinets. Use a level to mark the highest point on the wall where the cabinets will be installed. This ensures cleanliness and uniformity in installation. Second, assemble the cabinets if necessary, following the manufacturer’s instructions closely.

Secure the first cabinet to the wall by drilling pilot holes and driving screws through the cabinet’s mounting strip into wall studs. Use cabinet clamps to attach adjacent cabinets, ensuring they are flush and aligned. Install base cabinets with similar precision, starting from the corner and working outwards. Finally, check all cabinets with a level and make any necessary adjustments before permanently fastening them.

Replacing Electrical Wiring

Replacing electrical wiring requires strict adherence to safety protocols. Before starting, turn off the power supply at the main circuit breaker. Test the circuit with an electrical tester to confirm it’s de-energised. Carefully remove the faceplates, screws, and existing wiring, noting their configuration.

Read the manufacturer’s guidelines on the new wiring. Strip about 1 cm of insulation from each end of the wires to ensure secure connections. Match the new wiring with the original configuration. For example, connect the black wires (live), white wires (neutral), and green or bare wires (ground). Use wire nuts to secure connections, ensuring no exposed copper remains visible.

After connecting the wires, gently push everything back into the electrical box, replace the faceplates, and securely screw them back in place. Double-check connections, then turn the power back on to test for functionality and safety.

A variety of pedals and effects pedals on a table
an image of a toyota car

Saving Money with DIY Repairs

Cost Benefits Analysis

DIY repairs can significantly cut expenses by eliminating labour costs. For example, hiring a plumber can cost between £40 and £60 per hour. By fixing a leaky tap, I can save this expense entirely. Additionally, sourcing parts directly often proves cheaper. Purchasing a replacement washer for a tap costs pennies, but professionals might mark up prices for the same parts. Performing regular maintenance tasks myself can prevent costly future repairs. For instance, unclogging drains monthly avoids more serious blockages that require professional intervention.

When to DIY vs Hiring a Professional

It’s important to assess the complexity of the repair before deciding. Simple tasks like replacing a light bulb or unclogging a drain are ideal for DIY. However, projects involving electricity or structural changes should often be left to professionals. If I feel confident and the task is low risk, DIY is the way to go. Conversely, if there’s doubt or potential for harm, it’s best to consult a professional. For example, while changing a tap washer is straightforward, rewiring electrical outlets demands precise knowledge and experience. Balancing these decisions ensures safety and cost-effectiveness.

pexels-photo-5668858-5668858.jpg

Sustainability

Dedicated to Staying Updated on Automotive News

What we offer

Scroll to Top